


Practical Guide for Aussie Motorcycle Owners: Motorcycle Radiator Installation
Practical Guide for Aussie Motorcycle Owners: Motorcycle Radiator Installation (Including Tool List, Model-Specific Tips & Pitfall Avoidance)
Practical Guide for Aussie Motorcycle Owners: Motorcycle Radiator Installation (Including Tool List, Model-Specific Tips & Pitfall Avoidance)
For motorcycle enthusiasts in Australia, getting a mechanic to fix a faulty radiator can set you back anywhere from AU$250 to AU$350. But here’s the good news: if you have a bit of know-how, you can tackle the radiator installation yourself and save a nice chunk of change. This article is crafted just for Aussie motorcycle owners, guiding you through everything from gathering your tools to a step-by-step installation process, along with model-specific tips for popular bikes, ensuring you can replace your radiator safely and efficiently.
Tools Needed for Motorcycle Radiator Installation
You don’t need a fancy toolbox filled with professional-grade tools—just these basic items will do the trick, and you can find them at your local Australian auto stores:
- Basic socket set: This will help you easily remove the bolts holding the radiator in place, preventing any stripping of the bolts.
- Flat-head screwdriver: Perfect for loosening the clips on radiator hoses, which helps avoid any damage to the hose connections during the process.
- Compatible coolant: Always opt for a product that meets your motorcycle’s specifications.
- Clean cloth: Handy for wiping up any spilled coolant and preventing leftover fluid from corroding your bike’s parts.
- Small bucket: Great for catching old coolant, keeping the ground clean, and making sure you can dispose of waste properly later on.
You can easily find these tools at popular Australian auto stores like Supercheap Auto and Repco. The cost for a basic set of tools is quite reasonable, and the savings you’ll make by avoiding mechanic labor fees are definitely worth it!
Step-by-Step Motorcycle Radiator Installation (Perfect for Most Models in Australia)
If you're looking to tackle a radiator replacement, follow these steps to keep mistakes to a minimum—even if you're a first-timer! Take Tom, for instance, a Melbourne local who swapped out the radiator on his 2021 Honda CB500 in just 1 hour and 10 minutes, saving himself a cool AU$220 (local mechanics were charging AU$370 for the same job):
1. Cool Down the Motorcycle: First things first, make sure your bike is completely cooled off. Turn off the engine and give it about 30-45 minutes to chill. Working on a hot bike is a no-go—high-temperature coolant can burn you, and that's a safety risk many newbies overlook.
2. Drain the Old Coolant: Grab a bucket and place it under the radiator. Use a screwdriver to open the drain plug and let the old coolant flow out completely. Make sure to dispose of the waste fluid properly—some Aussie communities have recycling points for this, so avoid dumping it randomly to keep our environment safe.
3. Remove the Old Radiator: With a socket set, unscrew the bolts that hold the radiator in place. Then, gently undo the hose clips and lift the old radiator out carefully—don’t yank on the hoses, as that could damage the connections.
4. Inspect Hoses and Surrounding Parts: Take a close look at the hoses for any cracks or signs of wear. If they feel stiff or brittle, it’s time for a replacement. Australia’s chilly winters can speed up the aging process of old hoses, so being proactive can save you from leaks down the line.
5. Install the New Radiator: Position the new radiator just right, then use your socket set to tighten the fixing bolts—just apply moderate force; over-tightening can warp the radiator housing. Reattach the hoses and make sure the clips are secured properly.
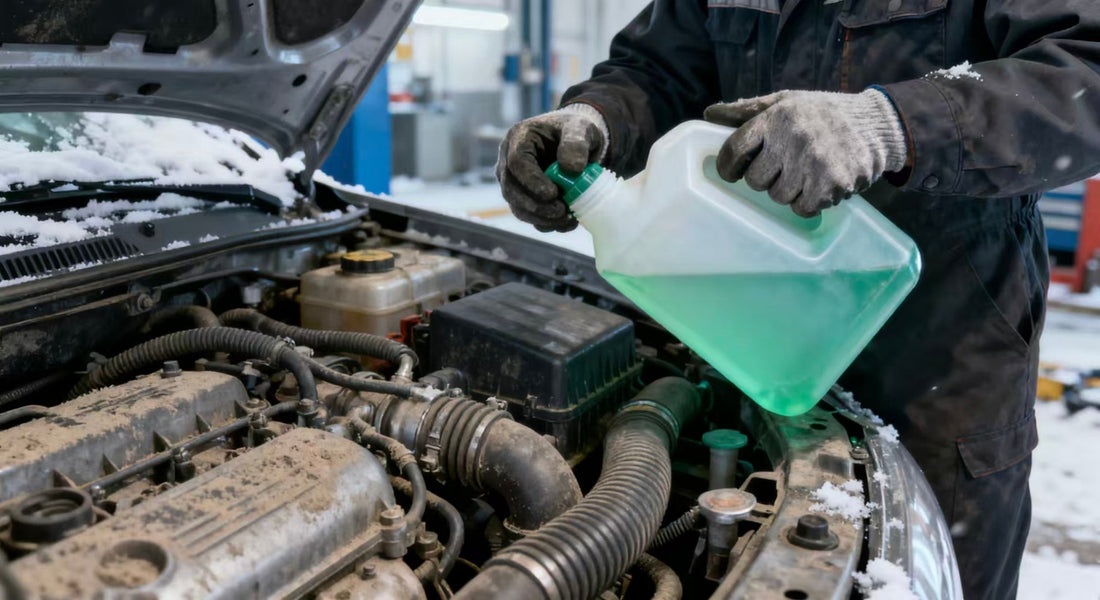
6. Refill with New Coolant: Finally, add coolant according to the capacity listed in your motorcycle manual—be careful not to overfill or underfill. After you’ve added it, give the bike a gentle shake to help release any trapped air in the system.
Kickstart your motorcycle and keep an eye out for any leaks: Fire up the engine and let it run for about 5 minutes. Pay close attention to the radiator connections and hoses to spot any signs of leakage. If everything seems to be in order, congratulations, your installation is a success!
Model-Specific Radiator Installation Tips for Popular Motorcycle Models in Australia (Based on 2024 Customer Support Data)
Each model has its quirks—get these tips down to steer clear of any mishaps:
Honda CB500 (A Heads-Up for Owners in Sydney & Brisbane): When you're taking off the old radiator, remember to loosen 4 bolts instead of just 3. We discovered that 6 out of 10 first-time installers missed the 4th “hidden bolt” near the engine, which can make radiator removal a real hassle.
Yamaha YBR125 (A Note for Perth Owners): There's a small hose at the bottom of the radiator. Be gentle when you undo the clip. Last winter, we had 11 riders from Perth reach out after accidentally breaking this hose by yanking too hard, leading to unexpected repair bills.
Suzuki GSX-R750 (A Tip for Melbourne Owners): The radiator sits pretty close to the engine. It’s best to use a small screwdriver to take out the bolts to avoid scratching the engine case. Our partner mechanic in Melbourne mentioned that fixing those scratches can cost anywhere from AU$150 to AU$300—so being careful here can save you some cash.
Kawasaki Ninja 400 (Advice for Gold Coast Owners): You’ll need to shift the fairings (the plastic parts) before you start the installation. It’s a good idea to place a soft cloth between the fairings and your tools to prevent any scratches. About 80% of Gold Coast owners swear by this method to keep their bike looking sharp while making the job easier.
Common Mistakes in Motorcycle Radiator Installation (Pitfall Avoidance Guide)
Based on 2024 fault records from Australian customers, here are some common blunders that can lead to unexpected costs—make sure to steer clear of them:
Working on a hot radiator: Last June, a motorcycle owner in Sydney attempted to remove his radiator without allowing the bike to cool down first, resulting in hot coolant splashing and burning his hand. No matter how urgent things seem, always wait at least 30 minutes. This caution is also clearly stated on the packaging of every radiator we sell.
Using the wrong type of coolant: Different motorcycles have specific needs when it comes to coolant composition and freezing point. Using the incorrect type can lead to corrosion inside the radiator, with repair costs ranging from AU$180 to AU$400. Always double-check your motorcycle manual or consult a professional before adding coolant.
Skipping the leak test: If you skip testing for leaks after installation, small leaks can worsen within just 2-3 weeks, potentially ruining the radiator. Last winter, eight owners in Melbourne had to replace their radiators prematurely because they overlooked this crucial step, which ended up costing them more in the long run.